Restoration Part 5
Rear Valance
The work below was carried out on the Thursday of weeks 8 and 9 .
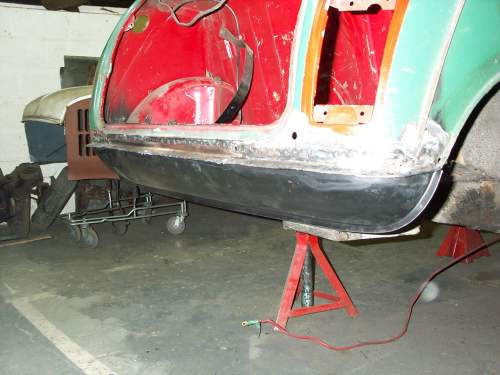
The external seams on a Mini make it extremely suitable for panel replacement using a spot welder so when replacing the rear valance the spot welder was called into action again.
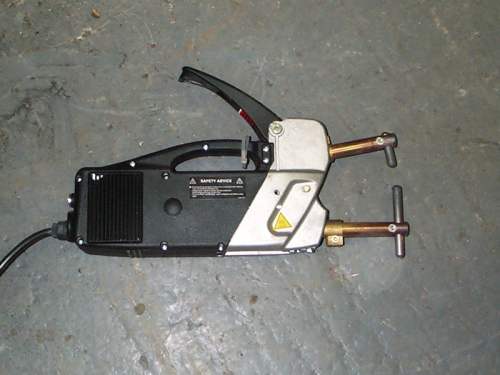
The valance was bolted into place using the bumper mounting holes and then spot welded.
The lip on the body had to be knocked down slightly with a hammer and dolly to ensure a good fit.
The rear valance end closing plates were next to be fitted. I think these are a rust trap as they create a box in each corner of the valance. Kevin suggested that a hole which could be plugged with a grommet could be cut in each closing plate. This would allow Waxoil etc. to be pumped in.
As the closing plates were not a great fit on the valance I decided to use an alternative solution. I modified the plates cutting off the right angle section that should be welded to the rear valance. This meant that an open box would be created. To maintain some of the strength the open edge was bent over double.
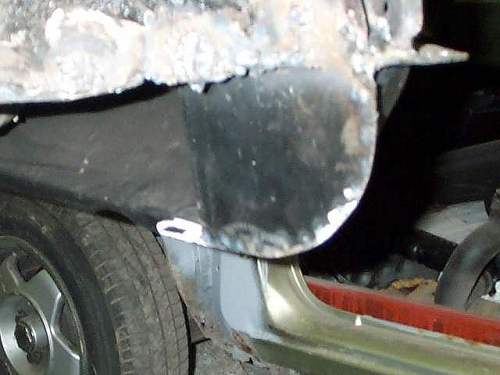
The modified plates were welded into place using the spot welder to weld them to the valance edges and the MIG welder to weld them to the bottom of the wheel arch. I managed to blow a few holes in the wheel arch when using the MIG but I am now getting quite good at filling these holes. The rear valance to body joins and the closing plate joins were then tidied up with the grinder. The rear end is almost finished it just needs some strengthening plates welding onto the area where the rear subframe mounting holes are. I will do this next time.
My Mini Mayfair
Restoration
- 1 - Initial Inspection
- 2 - Boot Floor 1
- 3 - Boot Floor 2
- 4 - Boot Floor 3
- 5 - Rear Valance
- 6 - Body Stands & Engine Removal
- 7 - Front End Removal
- 8 - Bulkhead 1
- 9 - Bulkhead 2
- 10 - Sills 1
- 11 - Sills 2
- 12 - Sils 3
- 13 - Sills 4
- 14 - Footwell
- 15 - Floor
- 16 - Battery Box
- 17 - Underside
- 18 - Underside protection
- 19 - A Panels
- 20 - Wings & Front Panel
- 21 - Front Panels & Arches
- 22 - Rear Subframe
- 23 - Return From Paint
- 24 - Brakes
- 25 - Wiring
- 26 - Engine 1
- 27 - Engine 2
- 28 - Fitting Engine
- 29 - Interior, Glass, Lights
- 30 - Wheels & Tyres
- 31 - Finishing Touches